Previous | Index | Next
The Earth Explorer Project
A slight diversion
So the base and the alternator test bed got disassembled for this new project. I won't go into the details, but the results were very painful. But the outcome was that the base was not in one single piece anymore.
A call to arms
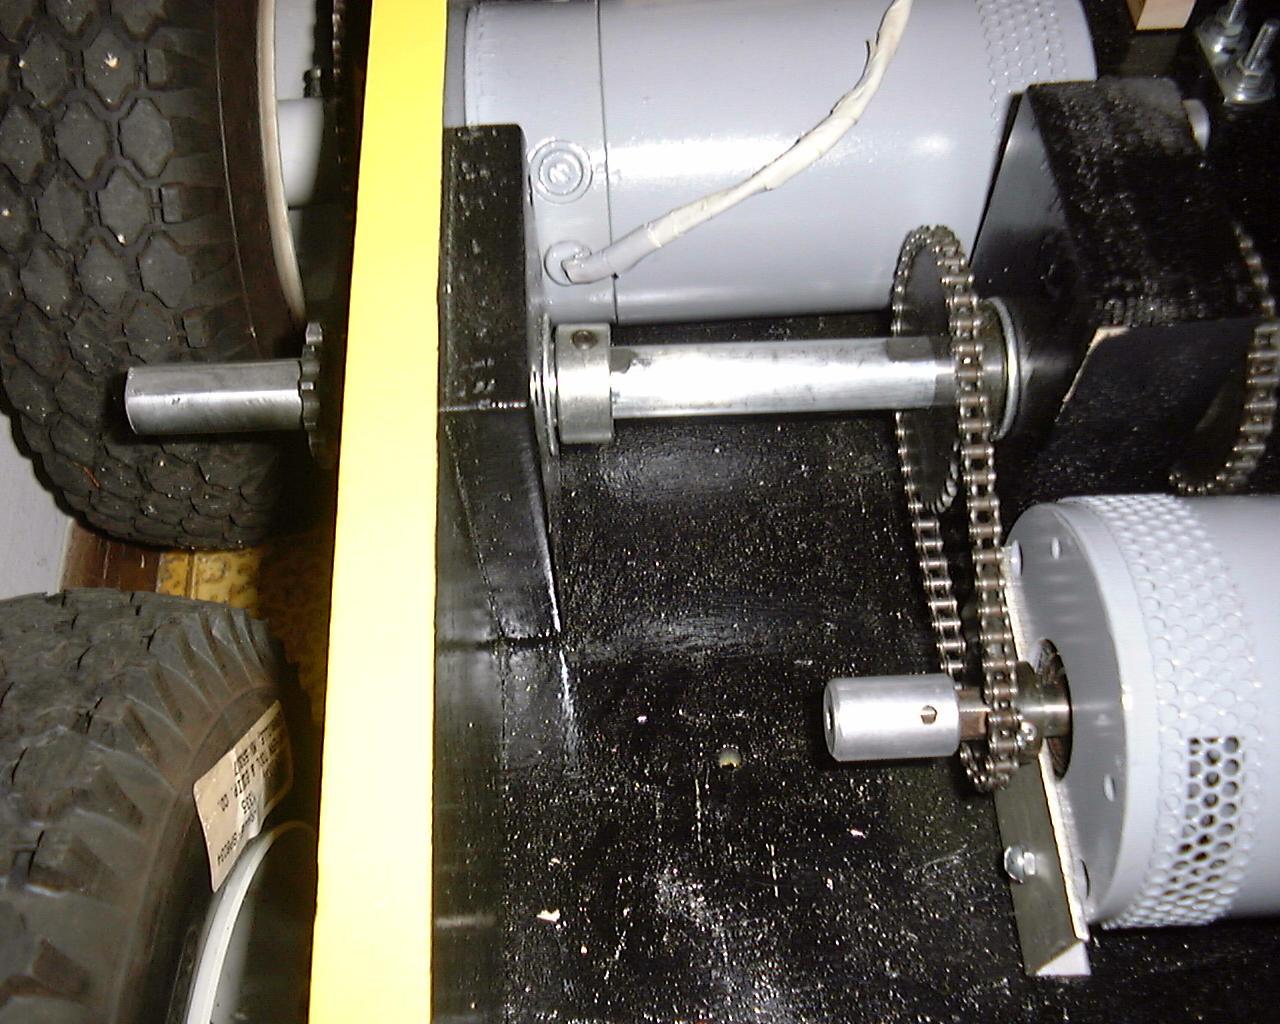
I also noticed the conduit clamps which held the axles on were very bent up. That is because they were taking alot of force since everybody insists on riding on the thing. So I took Gary Croll's suggestion and used 1/4" "U" bolts to hold the axles. Eventually I need to add some kind of chain tightener, but that is for some day when I am bored.
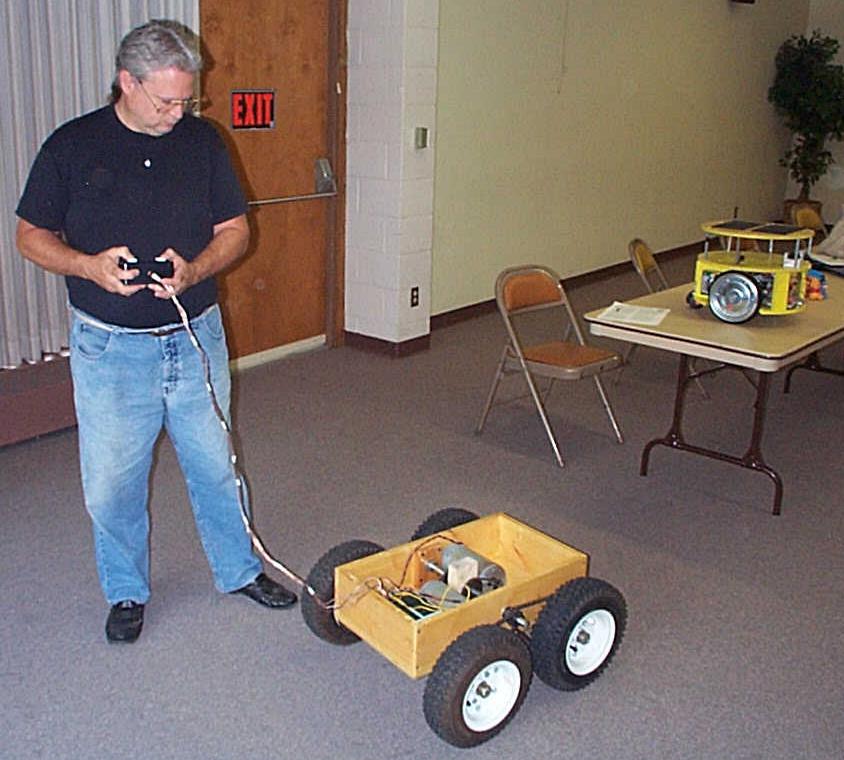
So I transported the Earth Explorer and Research 2 robot down to the meeting and showed them off. Rand also took his sumo robots and gave a talk on them.
There are some pictures from the MISFITS meeting in the August 2000 meeting pictures.
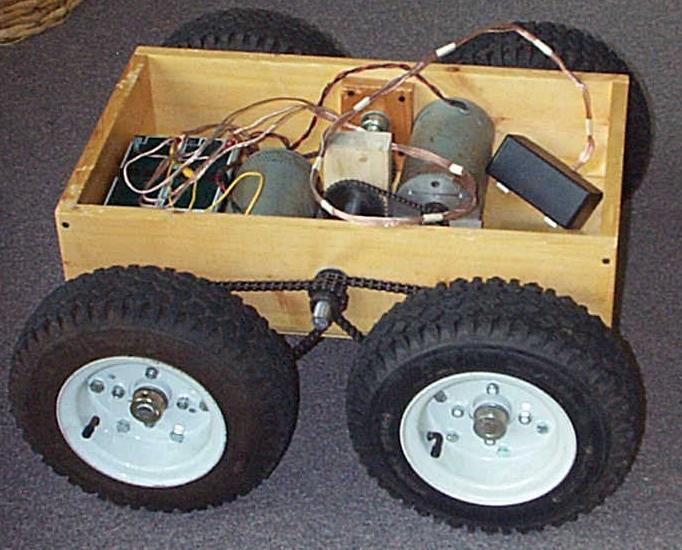
This is how it looked after it was reassembled.
Enough is enough
I decided to paint the outside yellow. I like yellow. I decided to paint the inside black, just for contrast. Turns out I should have painted both the inside and outside the same color. It would have saved me about an hour of masking with masking tape and newspaper. I also painted the motors while I was at it. They look brand new. They were starting to rust before.
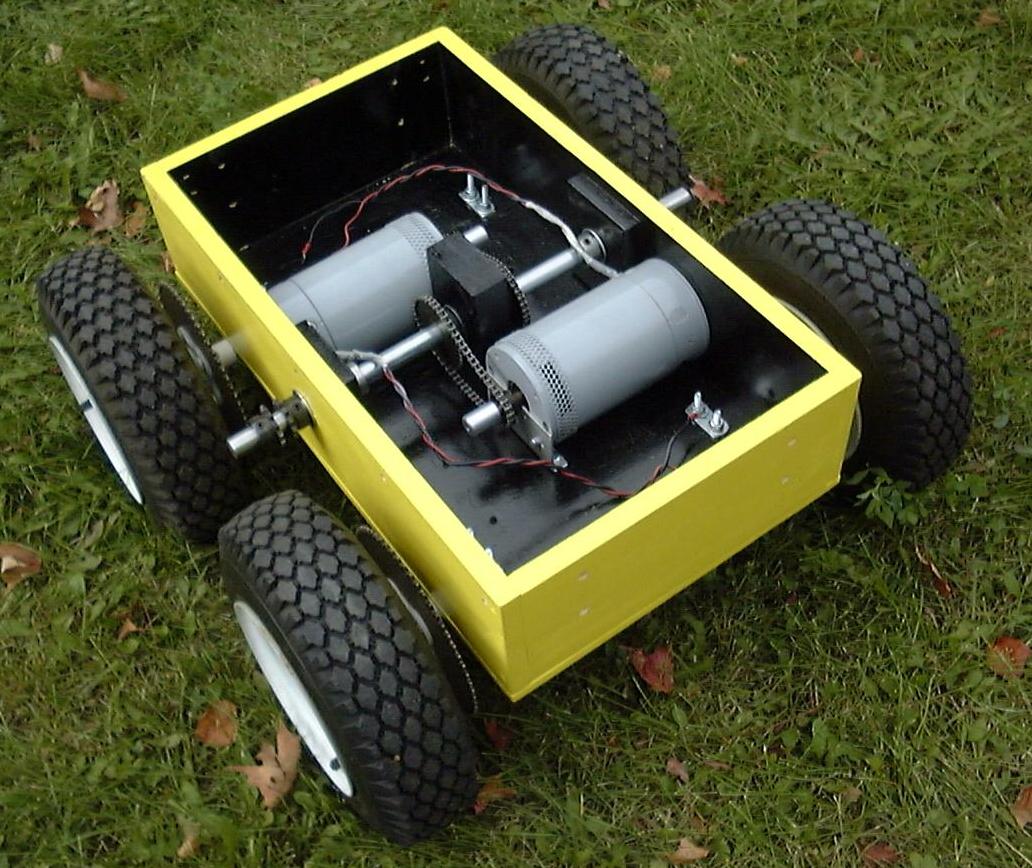
It looks much better after the paint job.
Rest of the body
Oh, I forgot to mention that I bought some new batteries. I was using 12V 7AHr batteries. I built the bottom box to accommodate their size. That way the top was completely flat so I would have various options for adding a top. But I found some 12V 17AHr batteries for $9.99 at Northern. I couldn't resist so I bought two. Unfortunately they are taller than my box, by about an inch. But I am going to use them anyway.
So I made the top and bolted on a big piano hinge I found at Axman. I made battery boxes to keep the batteries from bouncing around. I was going to bolt the electronics inside the upper box but I decided it would be hard to work on them in such a confined space. So I made a panel that lays across the bottom box. I also hinged this panel for easy access to the drive train.
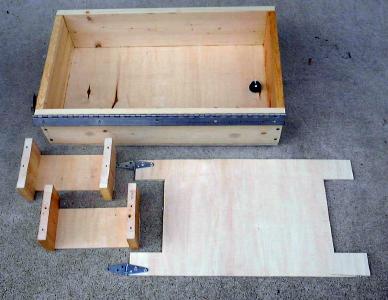
The new pieces before painting.

Assembled robot with the electronics panel down.
You can see the batteries protrude through the panel.
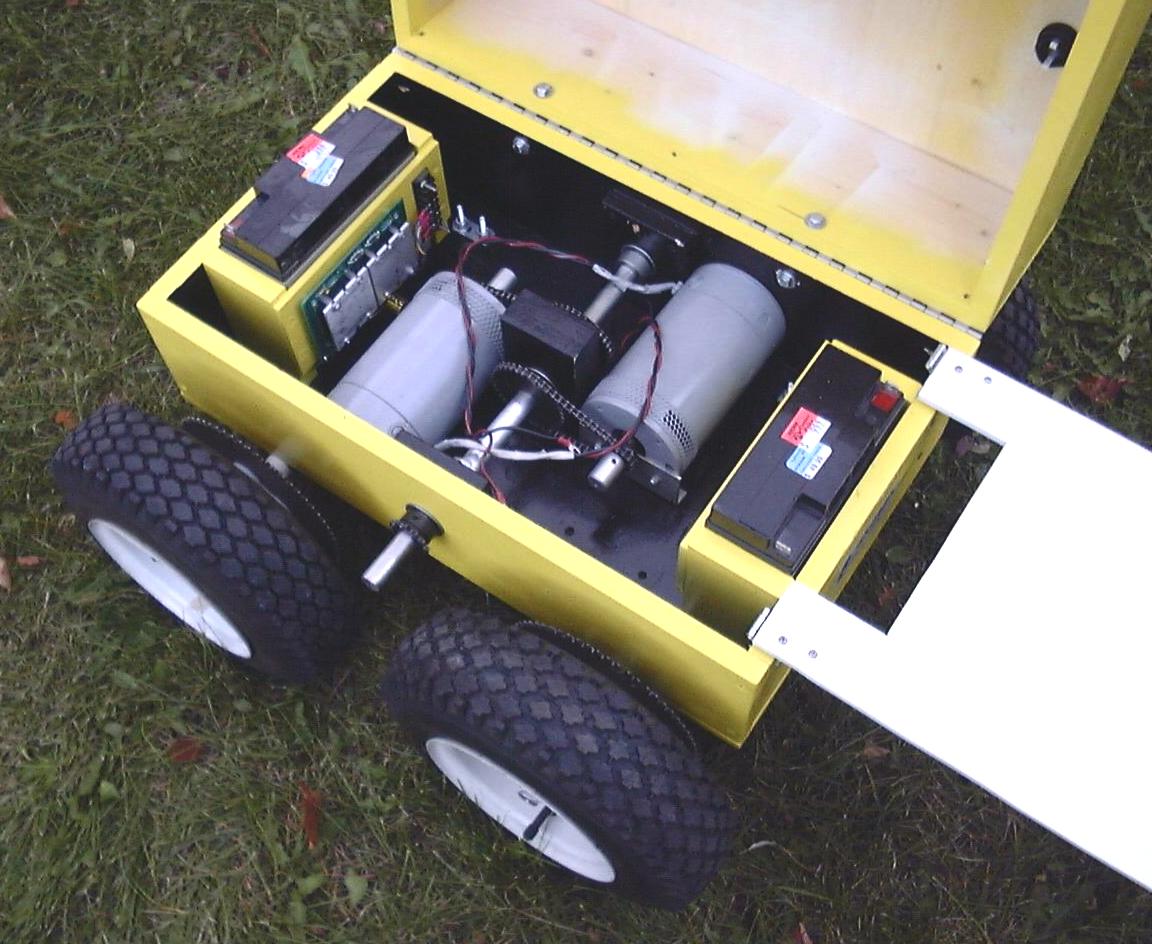
Assembled robot with the electronics panel up.
You can see the battery boxes and the DC/DC converters.
Visit Twin Cities Robotics Group
Back to my Home Page http://www.pobox.com/~jsampson
This page is currently maintained by Jeff Sampson